Those of you who have followed my antics for the last couple of years (since before this blog) know that I include hops-growing in my hobbies, in the hopes of one day getting a harvest to use in a batch. I started out with two rhizomes of Mt Hood hops, but they mysteriously died shortly after putting out burrs. I replaced them with two Cascades rhizomes last year; I was able to harvest a few ounces from them.
One of the rhizomes sprouted this year, but it was nipped by birds (I’m assuming) before it could get more than a couple of inches long. The other one was dug up by the pup, as he went through that phase. Long story short, they both croaked. So, I ordered some more, rather late in the year (the order was placed in May, from Freshops). The rhizomes arrived on June the 12th. I ordered a new pair of Cascades, and inadvertently one Newport rhizome. They all got planted on June 13th.
The Newport was the first to sprout, but it withered and died within a week; I’m not sure what happened, exactly, but I don’t think the rhizome was in the best of shape to begin with. No harm, no foul.
What follows are some photos of what the Cascades have been up to this month…
 To the left, you will see the rhizomes, with the Cascades taking pride of place…
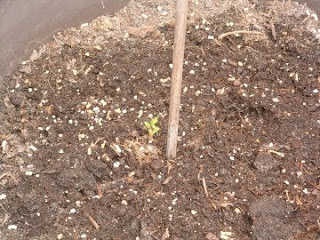
And below, the first shoot from the Cascades, 9 days after planting.
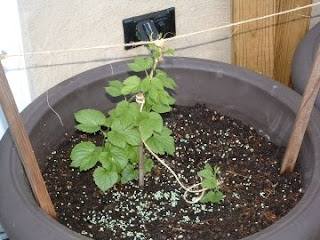
Here they are, four days later. These things grow like crazy!
And here they are, as photographed this morning (5 days after the last shot).
Watching them isn’t quite as dull as watching grass grow; I’ve got nearly daily photos dating from their initial sprouting. I may be convinced to put up the series on the website (watching the daily change is interesting). Regardless, updates here in the blog will be forthcoming as the weeks go by.


