Here’s a quick, down-and-dirty on how to rebuild a March Pump with a new head. (This was originally posted in October, 2008, and has been cleaned up a little for its migration to my new web host in 2018.)
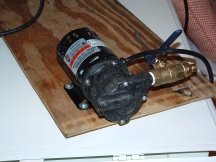
As you may recall, I dropped mine, and broke off the intake side of the head:
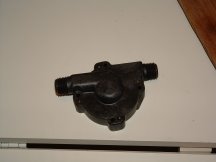
 I ordered a new one from MoreBeer, and it arrived shortly, in good order (but for the shipping box…):
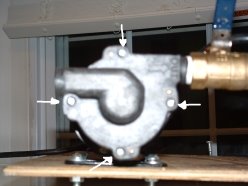
 To install the new pump head, first you have to take off the old one. This is accomplished by removing four screws, located on the ‘face’ of the head. (Sorry for the blurry picture; the arrows indicate the individual screws’ locations.)
 Having pulled the head off, you’re faced with another quartet of screws on the inner workings of the head:
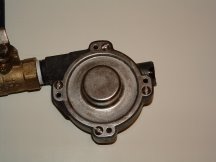 With these removed, you can pull things apart. You’re now faced with the impeller assembly:
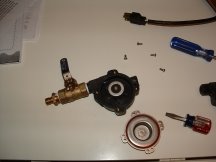 A bit of tugging, and the whole thing will come apart nicely, including the impeller (the spinny bit) and its axle:
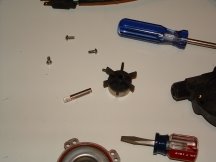
A quick inspection revealed a problem for me, however: mold had taken up residence on the impeller!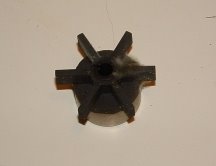
So, after much washing and scrubbing and sanitizing of the impeller, I was ready to re-assemble. The re-assembly process is identical to the disassembly process, only in reverse. In all, not counting the ‘break’ to clean things, it probably took me about 10 minutes to have the old one off and the new one screwed on.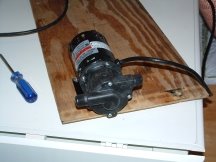
Note to self: Run sanitizing solution through the stupid thing during post-brew cleanup, otherwise I’ll be left with the possibility of infected batches…
In 2018, this pump is no longer actively in service–the latest iteration of the brew rig is a simple two-tier, and its placement next to my back stoop allows me to do the “heavy lifting” myself. I’m hoping, before long, to go to a single-tier electric system, eventually, and a pump or two will once again become necessary; I’m thinking going with stainless heads, when the time comes.
But, as you can see, replacing the “working parts” of a March pump isn’t so big a deal, at all.
